How to Craft Personalized Handmade Soaps at Home Easy Guide

Why Handmade Soap Making is a Worthwhile Pursuit
Have you ever thought about indulging in a fun, creative hobby that also adds a personal touch to your self-care routine? Making personalized handmade soaps at home not only allows you to express your artistic side but also ensures that you know exactly what goes into your skincare products. Crafting your own soap can be a rewarding and therapeutic activity where creativity flourishes with every batch you make. With a few simple ingredients and tools, you can create stunning soaps tailored to your tastes and preferences.
Wondering why you should consider making your own soaps? Here are some compelling reasons:
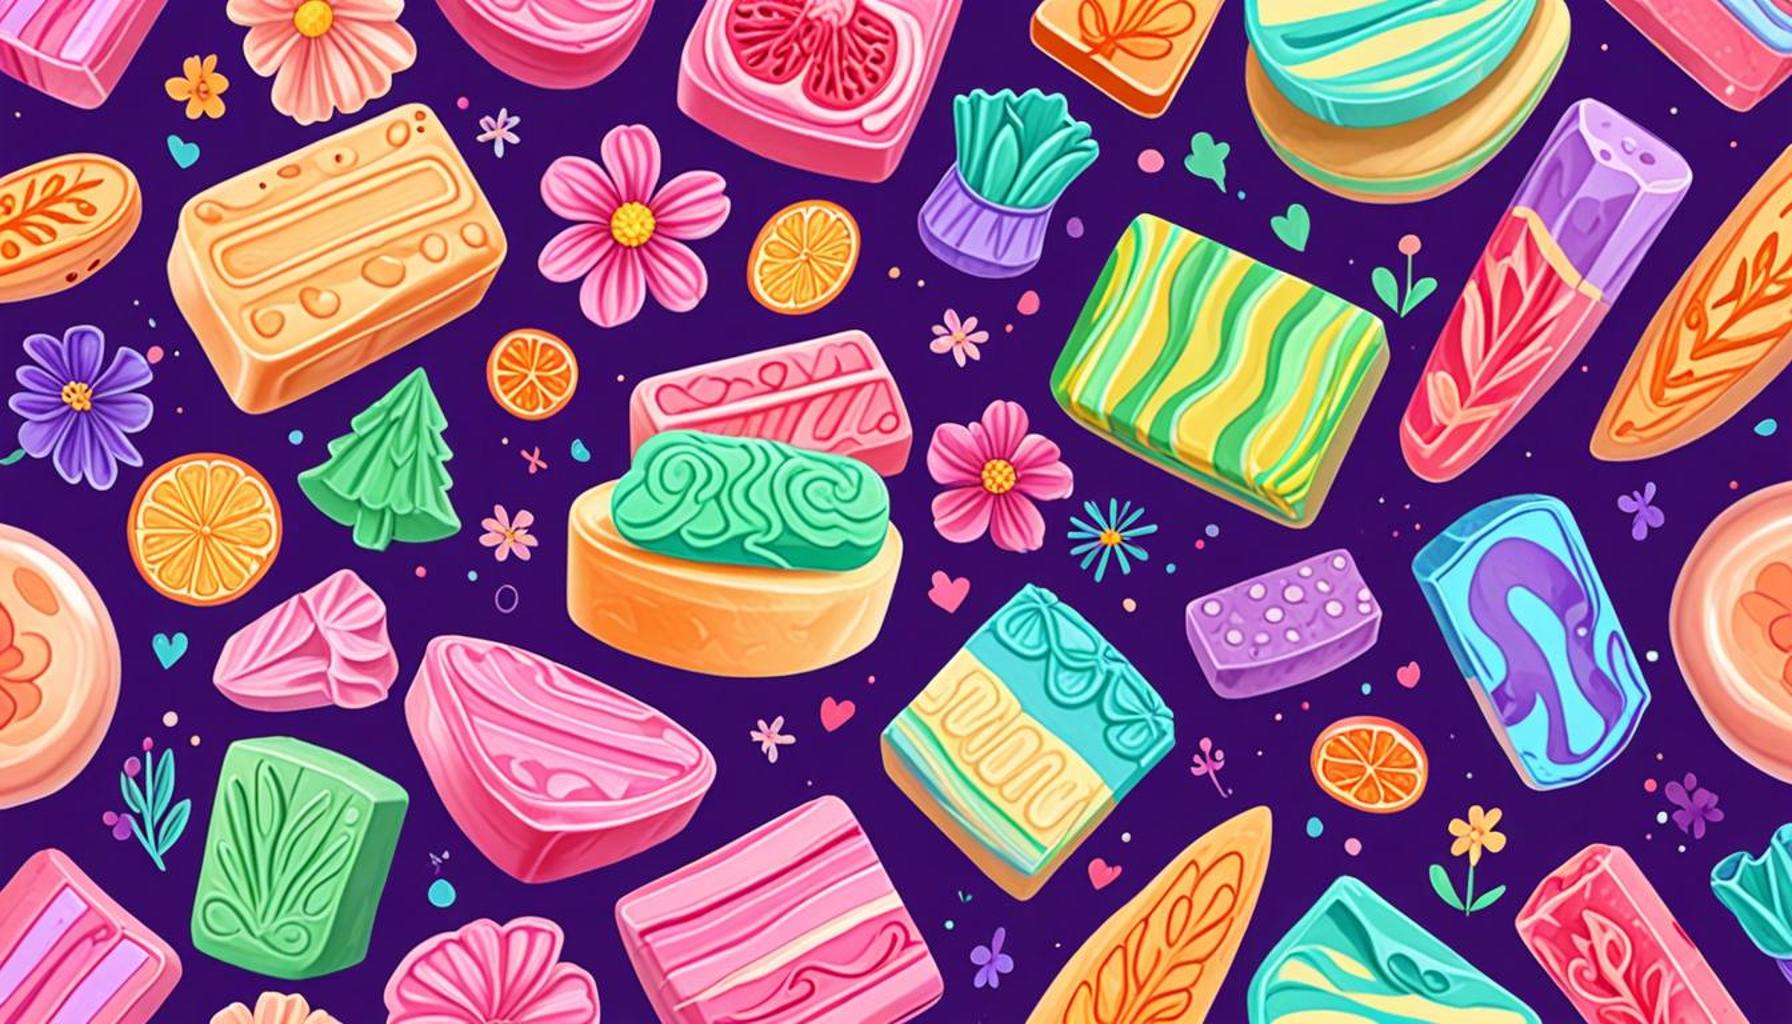
- Customization: One of the most exciting aspects of creating your own soap is the ability to customize every element. Choose from a multitude of scents such as calming lavender, refreshing peppermint, or invigorating citrus. Moreover, you can select colors that align with your aesthetic or even add dried flowers or herbs for a unique touch.
- Eco-Friendly: In today’s environmentally conscious society, using natural ingredients is a significant advantage. By making your own soap, you can avoid commercial chemicals, choosing instead skin-nourishing alternatives like olive oil, coconut oil, or natural essential oils that are often better for both your skin and the planet.
- Gift Potential: Handmade soaps make thoughtful gifts that add a personal touch for birthdays, holidays, or special occasions. Imagine gifting beautifully wrapped bars of soap, uniquely crafted to reflect the recipient’s preferences. A custom label with a heartfelt message can elevate your gift, turning a simple gesture into something truly memorable.
So, how can you get started on this exciting journey? In this easy guide, we will discover the step-by-step process of crafting your own soap masterpieces. We’ll cover essential tools, must-have ingredients, and some creative tips to elevate your soap-making game. You don’t need to be a seasoned DIYer; even complete novices can find delight in this process.
From classic lavender-infused bars to vibrant citrusy blends, the possibilities are endless! To begin, gather essential tools such as molds, a measuring scale, and a hand mixer. Ingredients can vary based on your chosen recipe, but common bases include glycerin or shea butter. You might also want to invest in some fun additives like natural colorants derived from herbs or clays. These will not only make your soap aesthetically pleasing but can also impart additional skin benefits.
With minimal investment in time and resources, you can elevate your self-care regimen while simultaneously exploring your inner artisan. Let’s dive in and learn how to create delightful soaps that not only cleanse but also pamper your senses, enriching your overall wellness experience. In a world where mass-produced goods dominate, there’s something uniquely satisfying and fulfilling about creating something with your own hands. Your journey into the world of handmade soaps awaits!
SEE ALSO: Click here to read another article
Getting Started: Essential Tools and Ingredients for Soap Making
Embarking on the journey of crafting personalized handmade soaps at home begins with gathering the right tools and ingredients. Having everything you need at your fingertips will make the process seamless and enjoyable. Whether you envision creating luxurious bars or whimsical shapes, each soap-making adventure can become an expression of creativity and customization.
To kick things off, here are some essential tools you should have:
- Molds: Soap molds come in various shapes and sizes, from traditional rectangular to fun animal or holiday-themed molds. Silicone molds are particularly popular due to their flexibility, making it easier to pop out your finished soaps.
- Measuring Scale: Accuracy is key in soap making, especially when you’re working with specific ratios of oils, lye, or glycerin. An electronic kitchen scale will ensure you measure out each ingredient precisely.
- Mixing Tools: A hand mixer or immersion blender can help you achieve a smooth and consistent mixture. Additionally, have some mixing bowls handy, preferably made of stainless steel or glass.
- Safety Gear: If you’re using lye for cold process soap, protective gloves and goggles are essential. Safety should never be overlooked in the crafting process.
- Storage Containers: To store your finished soaps, invest in airtight containers or wrapping materials. Keeping soaps dry and fresh enhances their longevity.
Now that you have your tools, let’s dive into the ingredients. Knowing what to include is critical for crafting soaps that are not only lovely to look at but also beneficial for your skin:
- Soap Base: Depending on your preference, you can choose from glycerin soap, shea butter soap, or even a cold process soap recipe featuring oils like olive, coconut, or palm oil. Each base offers unique properties; for instance, shea butter provides added moisture and nourishment.
- Colorants: Explore natural colorants derived from botanical sources or clays. Beetroot powder can provide a beautiful pink hue, while spirulina can impart a vibrant green.
- Fragrance Oils and Essential Oils: Scents are vital to enhancing the experience of using your soaps. Whether you choose invigorating citrus scents or calming floral fragrances, select high-quality oils for the best results.
- Emollients and Additives: Consider adding nourishing ingredients, such as oatmeal, honey, or dried herbs. These can elevate the health benefits of your soaps while contributing to their unique appeal.
As you gather your supplies, keep in mind that experimentation is part of the fun. Each batch you create can vary in color, fragrance, and design, making every experience a new adventure in handmade artistry. Once you have your tools and ingredients ready, you’ll be equipped to explore exciting recipes that match your vision. Ready your creative spirit and dive into the enchanting world of personalized soap making! The next section will guide you through the actual soap-making process, ensuring you achieve beautiful and functional results.
Exploring the Process of Crafting Personalized Handmade Soaps
Creating your own personalized handmade soaps not only allows for a unique sensory experience but also provides significant benefits for your skin and senses. Let’s delve into the fascinating world of soap crafting, revealing essential techniques, tools, and ingredients that define this delightful hobby.First and foremost, understanding the basic ingredients is paramount. Natural oils, such as olive, coconut, and almond oil, play critical roles in soap making. They not only facilitate the soap’s lather but also nourish the skin. By adjusting the blend of these oils, you can customize the texture, moisturizing capabilities, and overall aesthetic of your soap. Essential oils also come into play, offering a variety of aromatic options. From calming lavender to invigorating peppermint, each essence can turn an ordinary soap into a personalized therapy bar.Next, the soap-making method you choose can significantly impact your final product. The two primary methods are cold process and melt and pour. The cold process method allows for more creativity with the chemical interaction of ingredients, producing a hard, long-lasting soap that matures over weeks. In contrast, melt and pour is ideal for beginners, offering a simple and quick way to craft beautiful soaps in just a few hours, allowing for immediate enjoyment. Equipping yourself with necessary tools such as a digital scale, thermometer, and safety gear ensures a seamless and safe soap-making journey. Accurate measurements are crucial for achieving the right balance between lye and oils, thus ensuring a successful saponification process.Once you’ve mastered the basics, you can dive into the design aspects. Adding natural colorants like turmeric, spirulina, or mica not only enhances visual appeal but also contributes beneficial properties to your soap. Layering techniques, embeds, or swirls allow for artistic expression, resulting in unique bars that are truly one-of-a-kind.To elevate your soap-making adventure further, consider different packaging options when gifting your creations. Simple kraft paper, organza bags, or personalized labels can add a special touch to your handmade soaps, making them delightful gifts for friends and family. As you explore this creative outlet, remember it’s not just about the process; it’s about personal expression, sustainability, and the joy of using products made with love. To help you on your crafting journey, refer to the comprehensive guide that details ingredient sourcing, safety tips, and advanced techniques, ensuring that your soap-making experience is both pleasurable and rewarding.
| Advantages | Key Features |
|---|---|
| Natural Ingredients | Utilizes skin-friendly oils and butters without harmful chemicals. |
| Customization | Allows for unique scents, colors, and shapes according to personal preferences. |
SEE ALSO: Click here to read another article
Crafting Techniques: Step-by-Step Guide for Soap Making
Once you’ve gathered all your tools and ingredients, it’s time to embark on the exhilarating journey of making your personalized handmade soap. With a few simple techniques at your disposal, you’ll discover how easy it can be to create beautiful, functional soaps that suit your unique style. Below is a step-by-step guide tailored for different soap-making methods suitable for beginners and seasoned crafters alike.
1. Melt and Pour Method
This technique is perfect for novices and offers a quick way to produce delightful soaps without working with lye directly. Here’s how to create your custom bars using this method:
- Heat the Soap Base: Cut your soap base into small cubes, then use a double boiler or microwave to gently melt it. Be careful not to overheat; aim for about 150°F.
- Add Color and Fragrance: Once melted, incorporate your chosen colorant and fragrance. Start with a few drops of essential oil and adjust until you reach your desired scent.
- Mix in Additives: If you’re adding items like oatmeal or dried flowers, stir them into the mixture before pouring.
- Pour into Molds: Carefully pour the blended mix into your soap molds, tapping gently to eliminate air bubbles.
- Cool and Unmold: Allow the soap to cool for 1-2 hours. Once set, pop them out of the molds and admire your handiwork.
2. Cold Process Method
For those ready to delve deeper into soap making, the cold process allows for complete customization and unique soap characteristics. Here’s a concise breakdown:
- Prepare the Lye Solution: Carefully measure water in a glass or plastic container, and slowly add lye, stirring until dissolved. This releases heat, so let it cool.
- Heat Oils: In a separate pot, combine your oils and heat them to around 100°F to 110°F. Remember, safety first! Always wear gloves and goggles during this process.
- Combine and Blend: When both the lye solution and oils reach about the same temperature, slowly pour the lye solution into the oils while blending them with an immersion blender. Continue blending until you reach “trace” – a pudding-like consistency.
- Add Extras: Incorporate your desirable colorants, fragrances, and additives at this stage, mixing well.
- Pour and Insulate: Transfer the mixture into your molds, then cover with towels to insulate. This helps generate heat, allowing the saponification process to occur.
- Cure Your Soap: After 24-48 hours, remove the soap from molds and cut it into bars. Allow them to cure for 4-6 weeks to ensure all lye has reacted and to achieve the best texture.
3. Hot Process Method
If you’re looking for a quicker way to produce soap, the hot process method is your best bet. By applying heat throughout the saponification phase, it accelerates the process and allows for immediate use:
- Combine Lye and Oils: As with the cold process, start by mixing your lye solution and oils.
- Cook the Mixture: Pour the mixture into a slow cooker and cook on low for about 1-2 hours, stirring occasionally until it reaches “trace.”
- Add Color and Fragrance: After the cooking process, mix in your colors and scents before transferring to molds.
- Cool and Set: Allow cooling similarly as in other methods, but you can use your soaps sooner due to the saponification being complete.
With these techniques at your disposal, the world of soap making opens up to endless possibilities. Personalizing your creations with essential oils and special aromas can make even the simplest soaps feel luxurious. The varied methods provide enrichment and enjoyment, giving you the ability to design each bar according to your skin’s needs and aesthetic preferences. So gather your supplies, unleash your creativity, and craft soaps that reflect your unique style for a satisfying and rewarding experience.
SEE ALSO: Click here to read another article
Final Thoughts on Crafting Your Own Handmade Soaps
The art of crafting personalized handmade soaps at home is not only a rewarding hobby but also a unique way to express your creativity and cater to your personal skincare needs. Throughout this guide, you’ve discovered three accessible methods—melt and pour, cold process, and hot process—each offering its own advantages and creative possibilities. From experimenting with colors and scents to incorporating natural additives like herbs and oatmeal, the options for customization are virtually limitless.
As you embark on your soap-making journey, remember that practice makes perfect. Don’t hesitate to experiment with different ingredients and techniques, as the process is as much about exploration as it is about the end product. Whether you aim to create soaps for personal use, gifts, or potential home-based businesses, personalized handmade soaps can elevate daily routines into luxurious experiences.
Moreover, this craft aligns beautifully with a growing interest in natural and sustainable lifestyles. By making your own soaps, you can avoid synthetic chemicals and tailor your creations to be as eco-friendly as possible. So, roll up your sleeves, gather your supplies, and let your imagination guide you in creating stunning soap bars that reflect your individual style and care for your skin.
In the rapidly evolving world of DIY crafts, handmade soaps stand out as an enriching artistic outlet. With each bar you create, you’re not just making soap; you’re creating a piece of art infused with your personal touch. Keep learning, keep creating, and enjoy every moment of this delightful craft!


