How to Use Resin in Decorative Craft Projects A Complete Guide
Discovering the Allure of Resin Crafting
Resin has captivated the imagination of crafters and artists alike, opening doors to a world of creativity that knows no bounds. Its unique qualities not only allow for incredible versatility in design but also create eye-catching projects that draw attention in any setting.
If you find yourself venturing into the world of resin for the first time, prepare for an exhilarating experience! This medium is not just about creating beautiful art; it’s about exploring a wide array of possibilities. Take, for example, the multifaceted uses of resin:
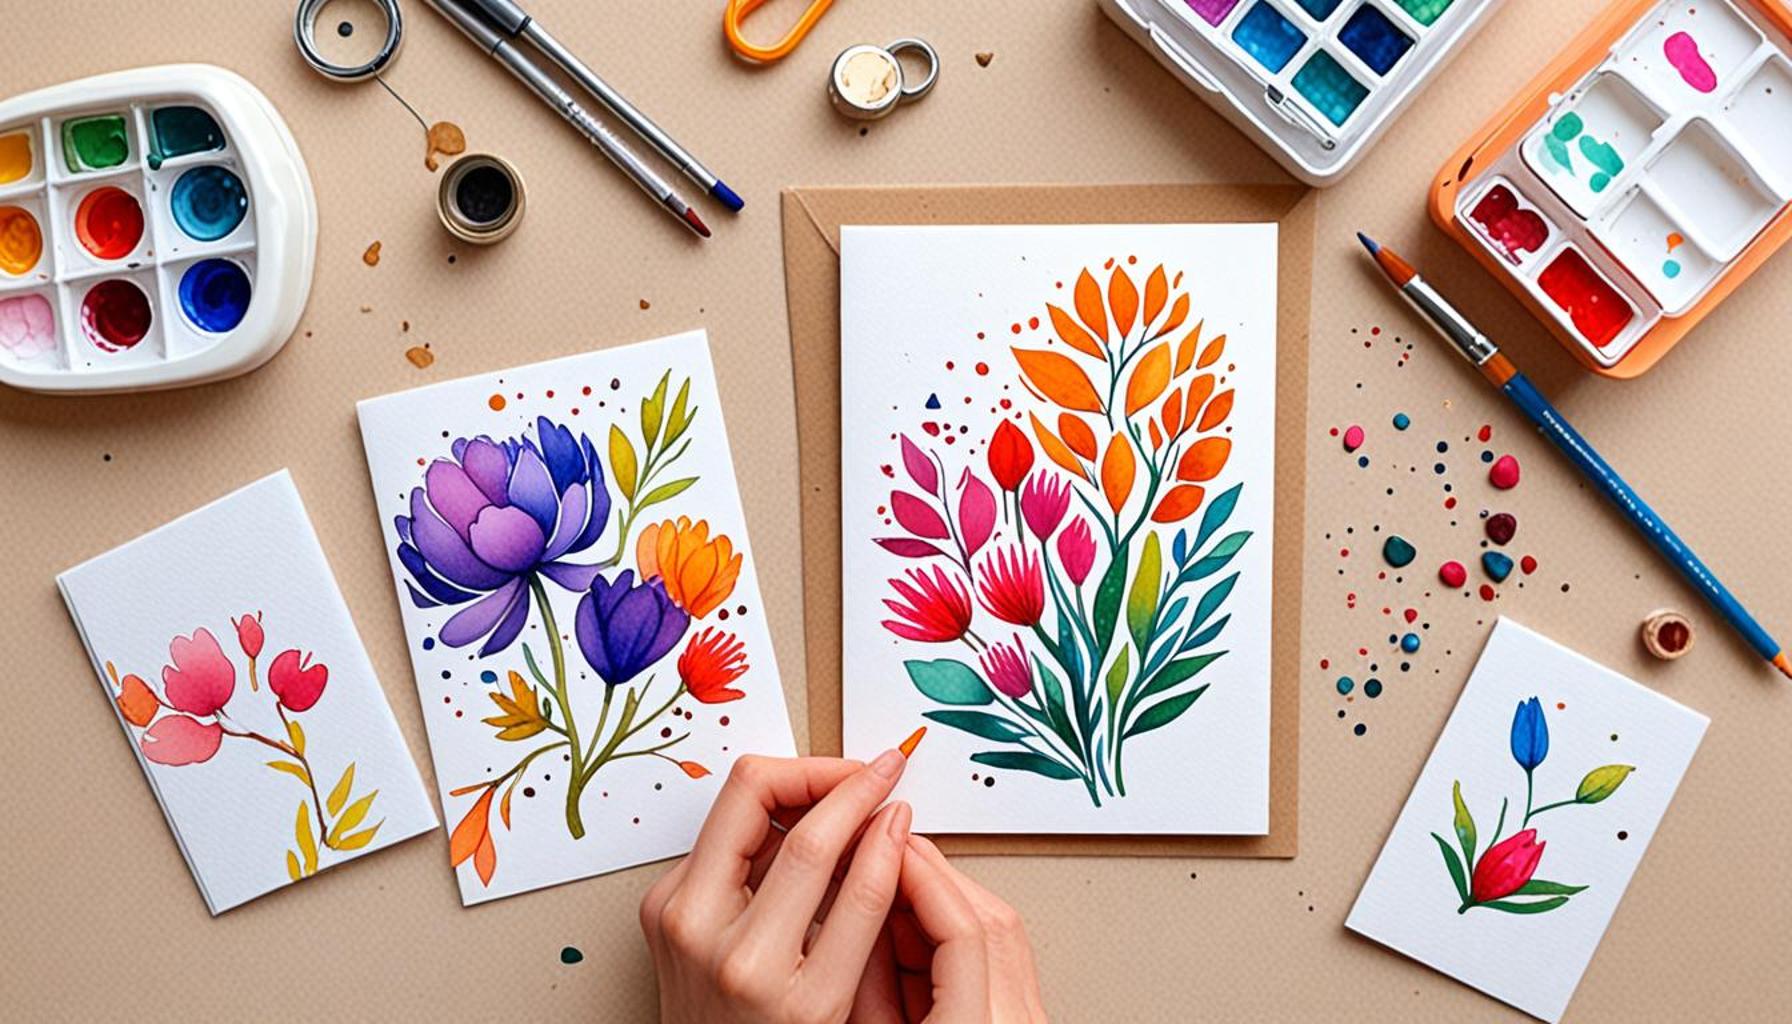
- Jewelry: Transform everyday materials into exquisite pieces, from vibrant pendants and delicate earrings to statement rings that showcase embedded flowers or colorful gemstones.
- Home Decor: Design bespoke coasters, stunning wall art, and unique decorative bowls that serve as conversation starters. Many crafters mix resin with pigments and metallics to create a mesmerizing ombre effect.
- Furniture: Elevate your home by using resin to enhance tables and countertops, offering a glossy, durable finish that protects the wood while elevating its aesthetic appeal.
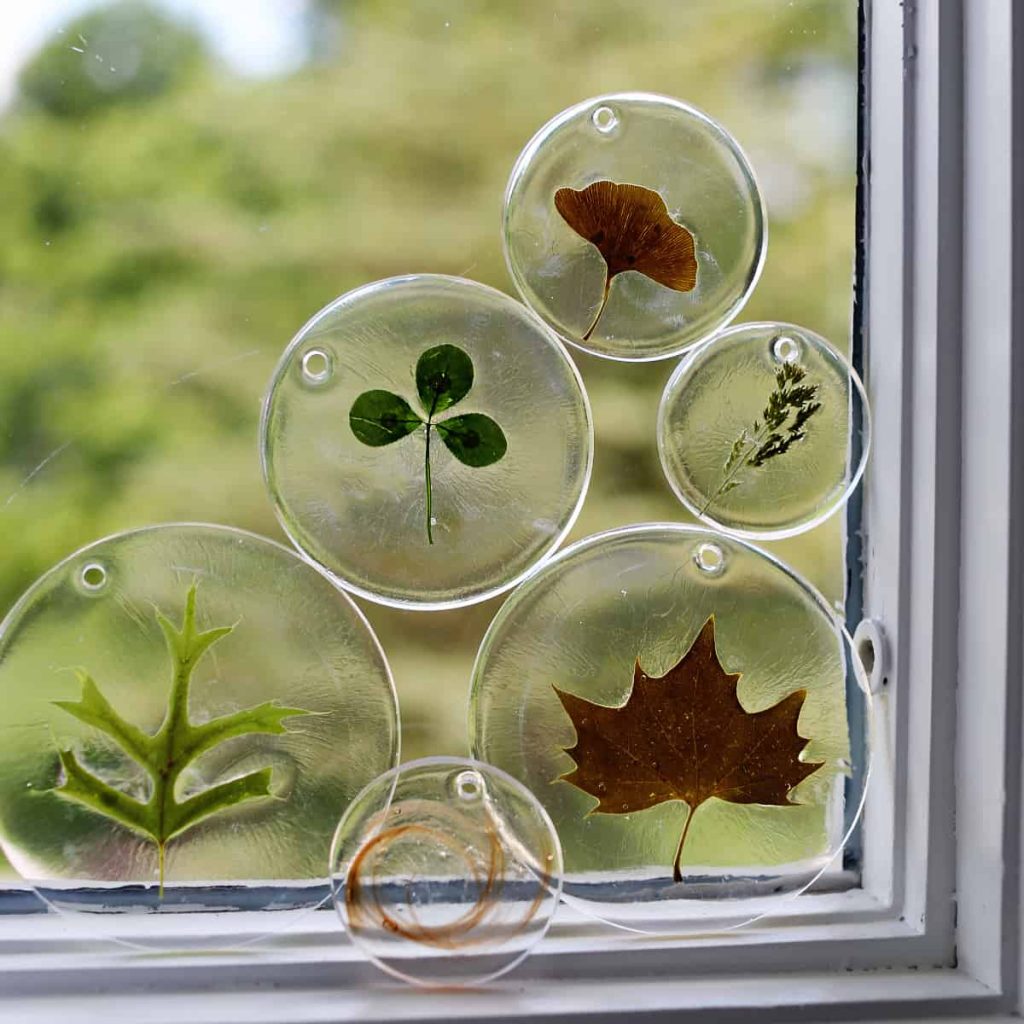
The magnetic appeal of resin lies in its *adaptability*. Imagine capturing the essence of nature by incorporating real leaves or small shells within a clear resin piece, creating a keepsake that tells a story. Alternatively, mixing in glitter and glow-in-the-dark additives can turn an ordinary creation into a whimsical nightlight or a playful party favor. The possibilities really are endless!
Before diving headfirst into your resin projects, it’s crucial to grasp the fundamentals. This includes understanding the different types of resin available – such as epoxy resin, polyurethane resin, and polyester resin – each offering unique characteristics and applications. Moreover, safety measures must be prioritized. Use protective gear like gloves and masks, and ensure your workspace is well-ventilated to mitigate any risks from fumes.
In this guide, we will explore essential insights into the crafting process and share practical tips to streamline your projects. We’ll discuss how to select the right type of resin for your needs, effective mixing techniques to achieve an even consistency, and finishing touches to give your work a professional finish. Whether you’re a budding hobbyist or a seasoned artisan searching to refine your skills, this resource will empower you with the knowledge needed to take your resin crafting to the next level. Embrace the creative journey that awaits!
SEE ALSO: Click here to read another article
Understanding the Different Types of Resin
As you embark on your resin crafting journey, it’s essential to familiarize yourself with the various types of resin available. Each type has its distinct properties, applications, and suitability for different projects. Below, we break down the most common types of resin that you may encounter:
- Epoxy Resin: Known for its strength and durability, epoxy resin is perfect for a range of projects, including jewelry and furniture making. It cures to a high-gloss finish and is ideal for encapsulating objects. Its low odor and relatively safe formulation make it a favorite among crafters.
- Polyester Resin: Often used in commercial applications and larger crafting projects, polyester resin dries quickly and is typically less expensive than its epoxy counterpart. However, it emits a stronger odor and requires more caution during use due to its volatile components.
- Polyurethane Resin: This versatile resin boasts a robust finish and excellent resistance to heat and moisture, making it suitable for outdoor crafts. Though more complex to work with, its superior quality attracts professionals and hobbyists alike for intricate designs.
Choosing the right resin is a critical first step that can greatly impact your project’s success. It’s essential to assess the requirements of your specific project and select a resin that aligns with your goals. For instance, if you’re focused on creating a piece that incorporates embedded items, epoxy may be your best bet due to its clear finish and ease of use.
Essential Materials and Tools for Resin Crafting
Once you’ve chosen the type of resin for your project, gathering the appropriate materials and tools is the next essential step. Here’s a list of the necessary items to ensure a smooth crafting experience:
- Resin and Hardener: Most resin products come in two-part systems that require mixing before application.
- Mixing Cups and Sticks: Use these to properly combine your resin and hardener, ensuring you follow the manufacturer’s recommended ratios for best results.
- Protective Gear: Safety is paramount when working with resin. Invest in gloves, a mask, and goggles to safeguard yourself from fumes and spills.
- Silicone Molds: Perfect for creating shapes, silicone molds enable easy release of finished pieces without damage.
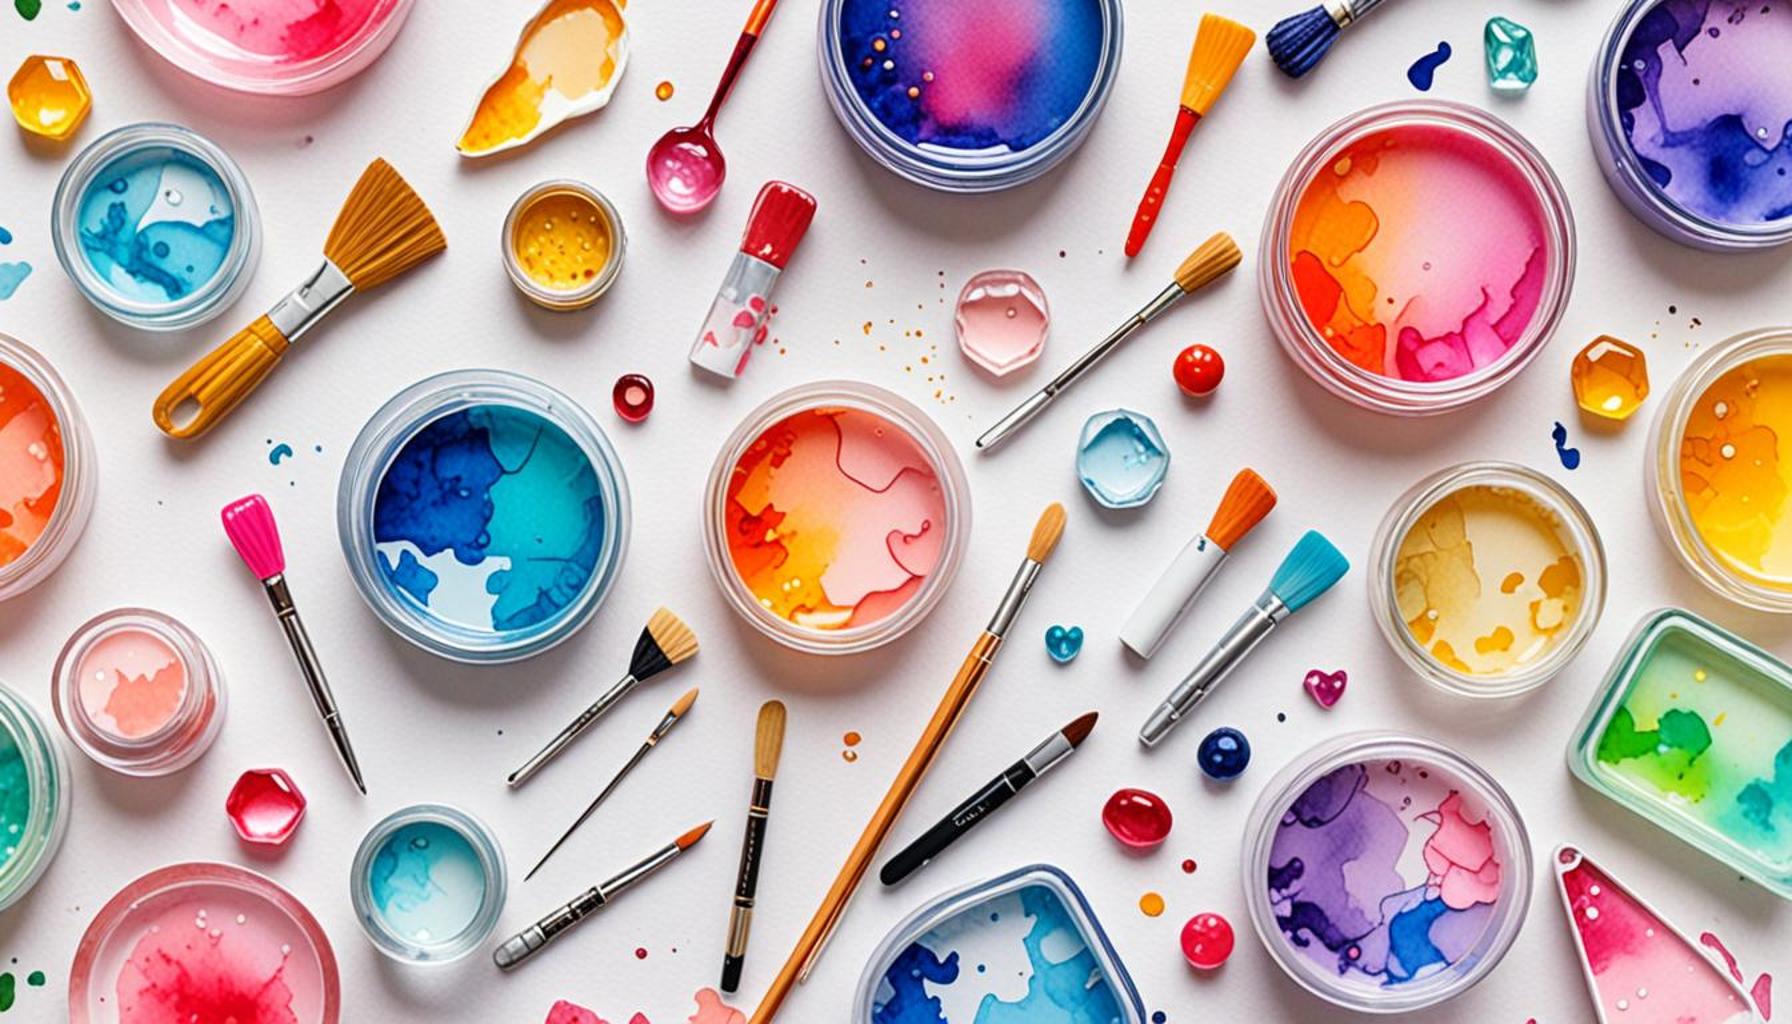
- Pigments and Additives: Various colors, glitters, and metallics can transform your projects from simple to spectacular.
Having the right materials will not only streamline your workflow but also enhance the final appearance of your creations. As you explore the world of resin crafting, you’ll discover how each item plays a vital role in the transformative process of bringing your artistic visions to life.
Preparing Your Workspace for Resin Crafting
Before diving into the exciting world of resin, ensuring your workspace is adequately prepared will make a world of difference. A clean, organized area minimizes frustrations, allowing you to focus on your creative expression. Here are some tips for setting up:
- Choose a Well-Ventilated Area: Fumes from resin can be harmful, so it’s important to work in a space that allows for good air circulation. Open windows or use a fan to keep air moving.
- Protect Surfaces: Cover your workspace with plastic sheets or newspapers to catch any spills and protect your surfaces from potential damage.
- Organize Your Materials: Keep your tools, pigments, and other supplies within easy reach to create a seamless crafting process.
With your workspace organized and materials gathered, you are now ready to dive into resin crafting with confidence. The following sections will guide you through the mixing, pouring, and finishing processes, as well as highlight commonly made mistakes and how to avoid them. Prepare to unlock a new realm of creativity!
How to Mix and Pour Resin Safely
When diving into the world of resin crafting, safety should be your top priority. Resin can release harmful fumes during the mixing process, so it’s crucial to work in a well-ventilated area and wear personal protective equipment such as gloves and a mask. Always read the manufacturer’s instructions before beginning, as different resins may have specific guidelines.
Choosing the Right Materials for Your Resin Projects
Not all materials work seamlessly with resin. The choice of pigments, molds, and embellishments can significantly impact the final product’s appearance. For instance, high-quality silicone molds can yield stunning, smooth finishes, while non-porous materials ensure that the resin won’t bond unintentionally. When selecting colors, consider using mica powders or liquid alcohol inks, which can create vibrant and dynamic effects.
Techniques for Decorating with Resin
To elevate your resin pieces, try incorporating various techniques like layering, inclusions, or embedding objects. By pouring layers of colored resin or adding glitter, gems, or dried flowers, you can achieve complex, eye-catching designs. Textures can also add depth to your projects. Experimenting with tools such as heat guns or toothpicks will allow you to create unique swirls or patterns that capture attention.Here’s a brief table summarizing some advantages of using resin in your craft projects:
| Category | Advantages |
|---|---|
| Customizability | Resin allows endless customization in color, texture, and style. |
| Durability | When cured, resin products are strong and resistant to moisture, making them ideal for various decor projects. |
Complete Your Resin Project
Once your project is cured, it’s time to finish it off. Sanding edges can enhance the overall look, giving it a polished appearance. Additionally, consider applying a top coat of resin to add extra shine and protection. Explore various finishes, from matte to glossy, to complete your artistic vision. With the right techniques and knowledge, you’re well on your way to creating exceptional resin crafts that will captivate any audience.
CHECK OUT: Click here to explore more
Mixing and Pouring Resin: A Step-by-Step Guide
Now that you’ve prepared your workspace and gathered all essential materials for your resin crafting project, the next phase involves mixing and pouring the resin. This step is crucial as improper mixing can lead to bubbles, uneven curing, or even an incomplete hardened effect. Following a carefully crafted procedure can enhance your results significantly.
Step 1: Measure and Mix
The first step in the mixing process is to measure your resin and hardener accurately. Most products will provide specific ratios, typically 1:1 or 2:1, so it’s vital to adhere to these guidelines. Use clear mixing cups for precision—this allows you to see the levels as you pour. With your measurements in place, grab your mixing stick and stir the resin slowly for about 3 to 5 minutes. Make sure to scrape the sides and bottom of the cup to ensure thorough mixing. Improperly mixed resin may not cure correctly, leaving you with soft spots or tacky surfaces.
Step 2: Adding Pigments and Additives
Once your resin is thoroughly mixed, it’s time to unleash your creativity by adding pigments, glitters, or other additives. When selecting pigments, opt for high-quality resin dyes to prevent reactions that can cause discoloration or curtail the resin’s clarity. Keep in mind that a little goes a long way when it comes to color. Start with a few drops and mix until you achieve your desired hue.
Step 3: Preparing the Mold
If you’re using silicone molds, ensure they are clean and dry prior to pouring. Silicone is naturally non-stick, making it easy to demold your projects later. Consider pre-spraying them with a mold release agent for added security against sticking. If your project involves embedding objects, position them in the mold before pouring the resin. Think about balance and placement to create visual harmony.
Step 4: Pouring the Resin
With your resin mixed, color added, and mold prepared, it’s time to pour! Begin by gently pouring the resin into the mold, starting from one corner and allowing it to flow to the edges. This technique minimizes bubbles that may form during the pour. If bubbles do appear, use a heat gun or a small torch held a few inches away to eliminate them gently—careful not to burn the resin. Aim to fill the mold completely but avoid overflowing.
Step 5: Curing
After pouring, the resin needs time to cure, which can vary based on the type of resin used, ambient temperature, and thickness of the pour. Typically, resin projects can take anywhere from 12 to 72 hours to fully cure. To ensure a successful curing process, place your project in a dust-free, warm, and dry environment. Covering the mold with a plastic container can help prevent dust from settling on the surface during this time.
Avoiding Common Mistakes
Even experienced crafters can encounter hurdles during resin application. Here are some common pitfalls to watch out for:
- Not wearing protective gear: Always ensure you have gloves and a mask on when working with resin to protect yourself from potential irritation from fumes.
- Rushing the process: Take your time while measuring and mixing. Rushing can lead to mistakes that could compromise the integrity of your project.
- Skipping bubble removal: Bubbles can spoil the appearance of your resin work; make sure to take the time to remove them appropriately.
By following these steps and being mindful of common mistakes, you’ll set yourself up for success in your resin crafts, paving a pathway that leads to beautiful, solid results.
SEE ALSO: Click here to read another article
Conclusion
In summary, working with resin opens up a realm of creative possibilities for your decorative craft projects. By understanding the essential steps of mixing, pouring, and curing, you can transform raw materials into unique, stunning pieces. The importance of taking your time cannot be overstated; precision in measuring and mixing is key to achieving the best results that not only look professional but also stand the test of time.
For example, when crafting resin jewelry, using a digital scale can immensely improve the accuracy of your resin-to-hardener ratio, which is typically 1:1 or 2:1 depending on the product. A miscalculation can result in a sticky finish or, conversely, a piece that becomes too brittle and breaks easily. Additionally, incorporating high-quality pigments and additives like glitter or metallic powders can enhance the visual appeal of your creations while ensuring clarity and durability, revealing captivating patterns and textures that draw the eye.
As you embark on your resin crafting journey, keep in mind the common pitfalls, such as not wearing protective gear and overlooking bubble removal. Protecting your skin and eyes with gloves and goggles is crucial, as certain resins can contain harmful chemicals. Learning from these challenges can vastly improve your crafting experience and the outcome of your projects. With tools like a heat gun or a blowtorch, you can effectively eliminate bubbles, achieving a pristine finish.
Finally, don’t hesitate to explore further resources and join communities of resin enthusiasts for inspiration and support. Websites, forums, and local meet-ups offer a treasure trove of ideas, techniques, and troubleshooting tips. Whether you create elegant coasters, vibrant jewelry, or breathtaking art pieces, the world of resin crafting is vast and inviting. Embrace your creativity, and let your imagination run wild as you dive into this dynamic medium. From beginner projects to advanced applications, endless opportunities await. Happy crafting!